Image Processing Project Results
In this project, I implemented methods that:
- had some fun with frequencies with blurring and sharpening images
- combined different low and high frequencies via low and high pass filters
- had some great fun doing multi-resolution blending
Part 1: Fun with Filters
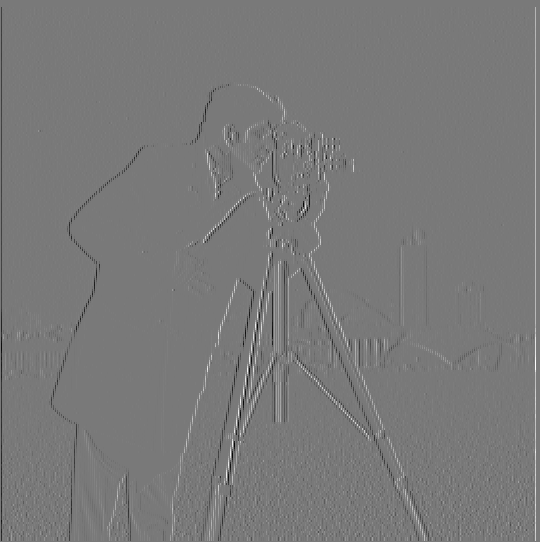
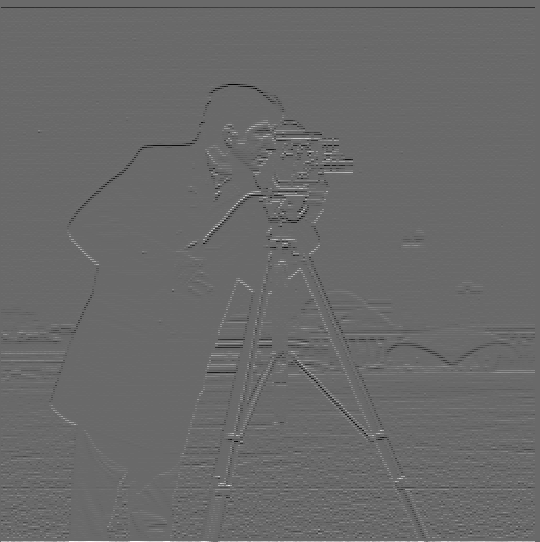
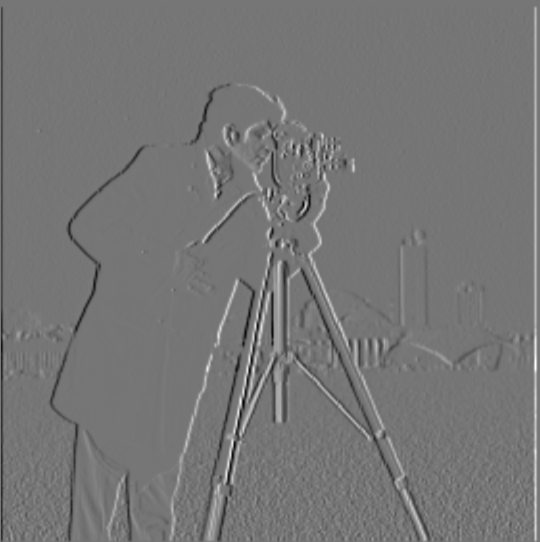
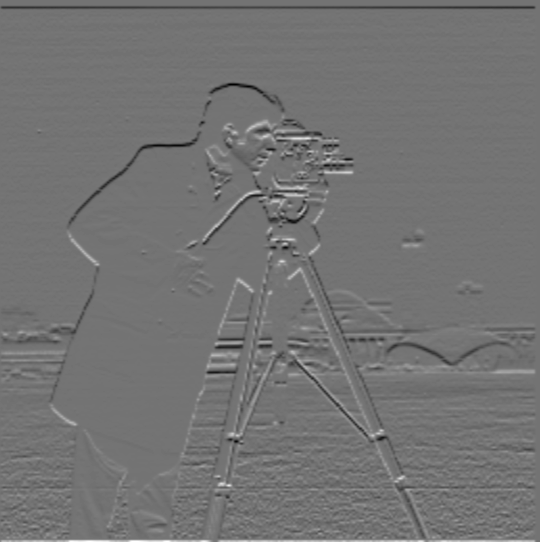
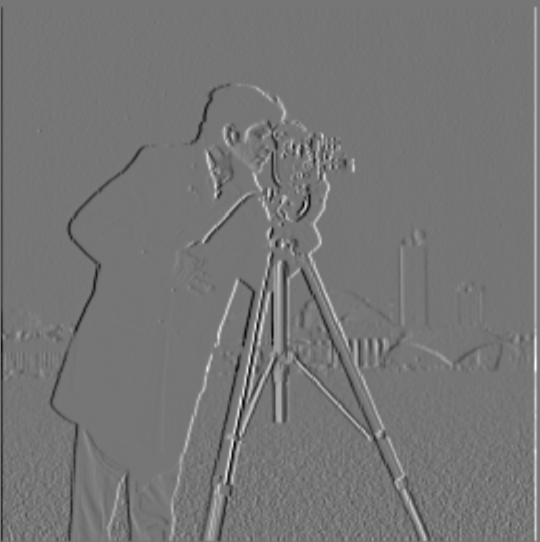
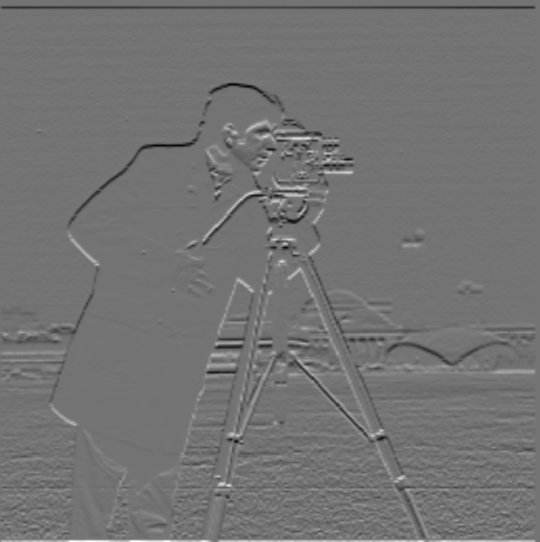
For the first part, I applied edge detection using finite difference filters in both the x and y directions (dX and dY). The matrices used are as follows:
        Dx = [1, -1]
        Dy = [[1, 0]
              [0, -1]]
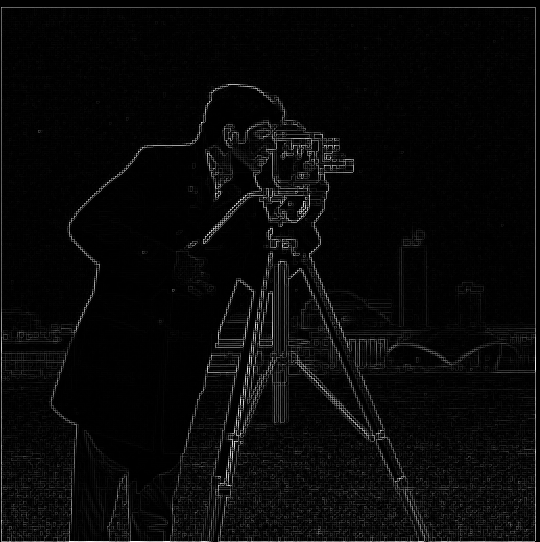
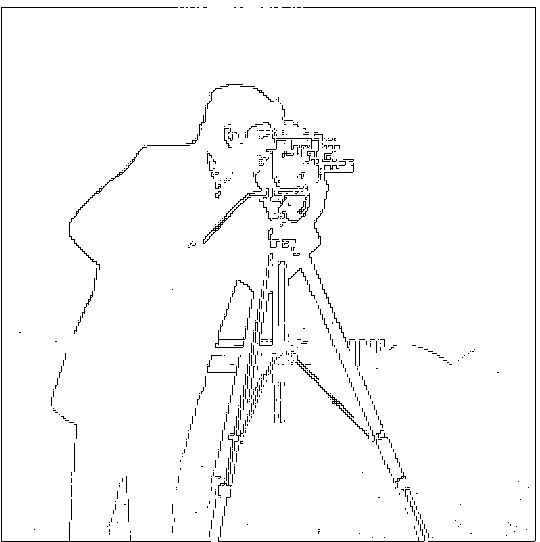
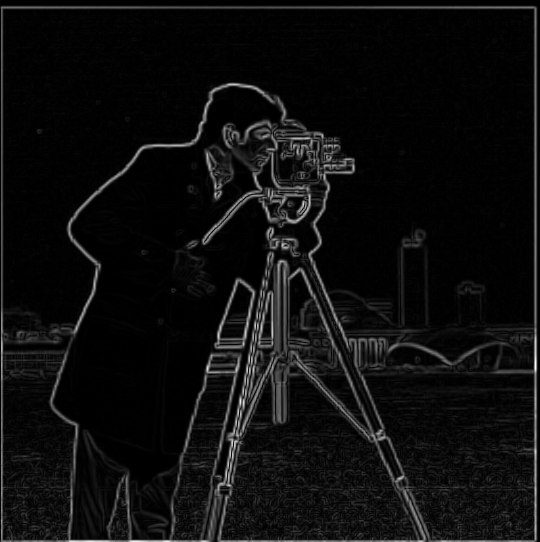
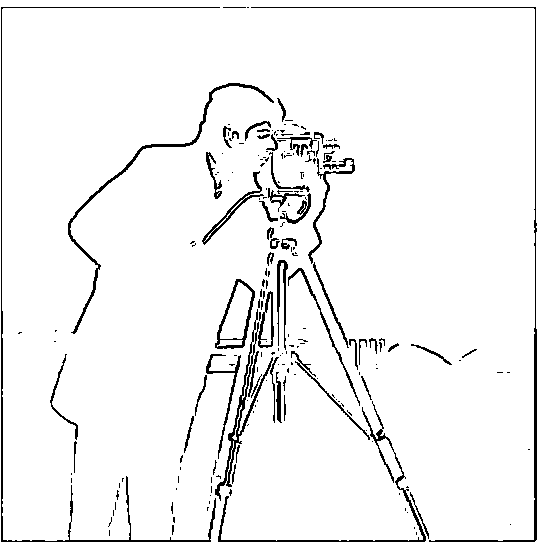
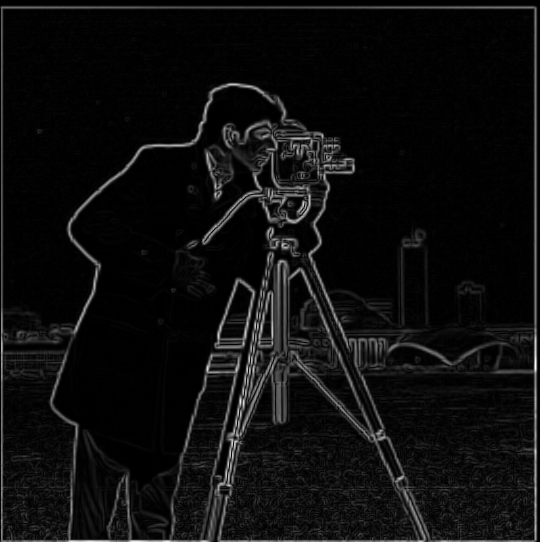
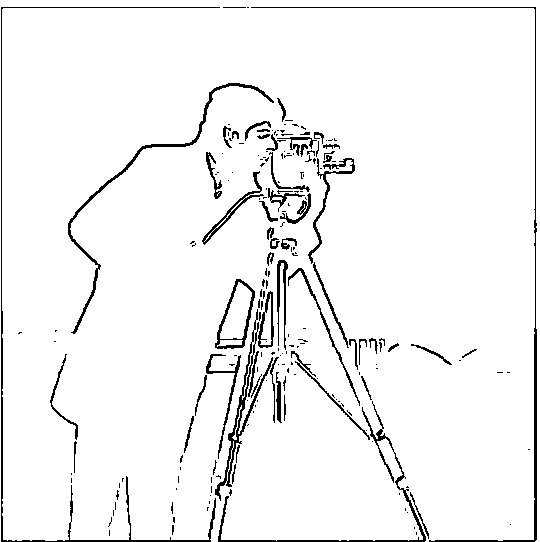
The results are presented in order of dX, dY, gradient magnitude, and binarized gradient magnitude. The cutoff for binarizing the gradient magnitude was 0.3.
First, calculate the partial derivatives in both the x and y directions of the cameraman image by convolving the image with finite difference operators, Dx and Dy. This can be done using convolve2d from the scipy.signal library. Once the partial derivatives are computed, combine them to generate the gradient magnitude image using the following formula:
Gradient Magnitude = sqrt(Dx2 + Dy2)
Part 1.1: Finite Difference Operator Results
Part 1.2: Derivative of Gaussian (DoG) Filter Results
After applying the Gaussian filter, the outputs were more smoothed out, and the binarized gradient magnitude became thicker due to the spreading effect of the Gaussian filter. The threshold for binarizing the gradient magnitude was 0.3.
Below are the results after applying the Gaussian filter, and it was confirmed that these outputs are the same exact results pixel-wise as when using vanilla Gaussian convolution.
Here are the vanilla versions of the Gaussian convolution applied to the image. The results are confirmed to be identical pixel-wise to the results shown above:
Part 2: Fun with Frequencies
Part 2.1: Image Sharpening
In this section, I applied image sharpening using the unsharp masking technique. Below is the equation used for sharpening the image:
f_sharp = f + α(f - f * g) = f * ((1 + α)e - αg)
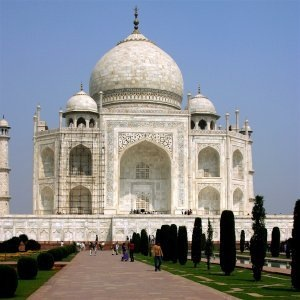
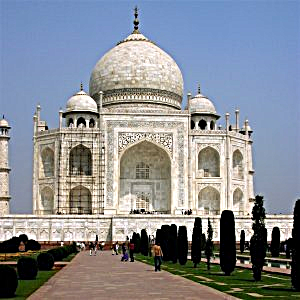
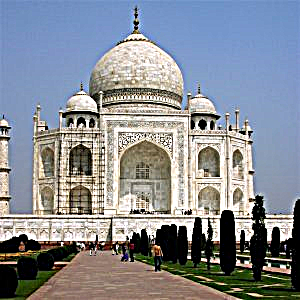
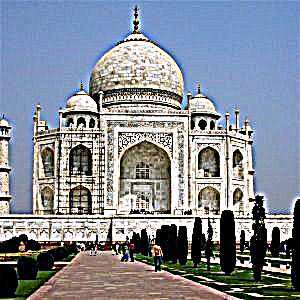
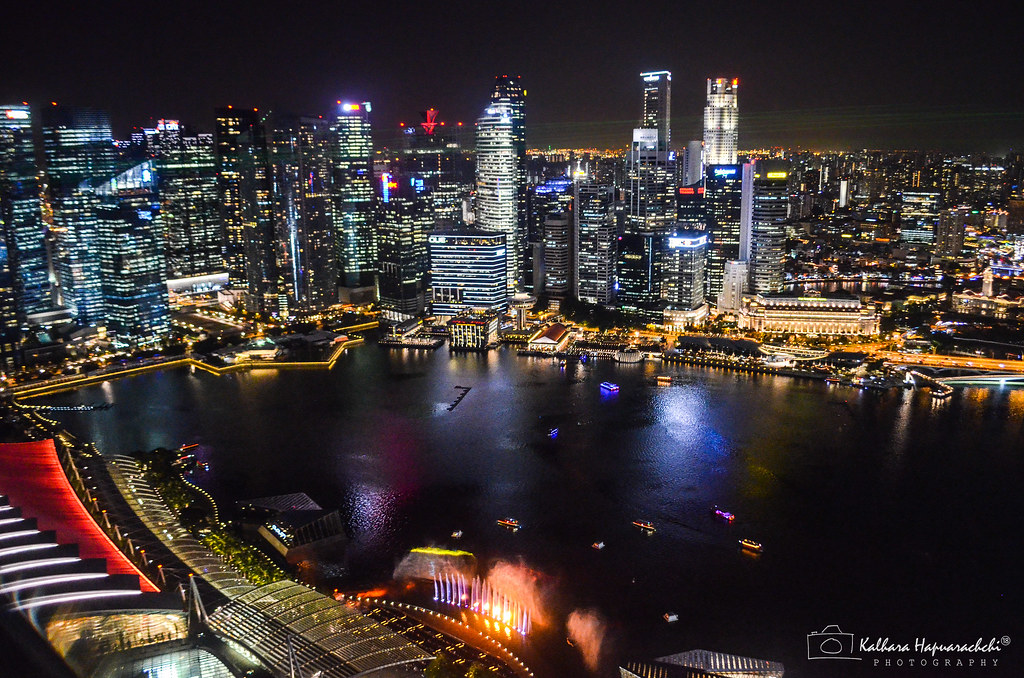
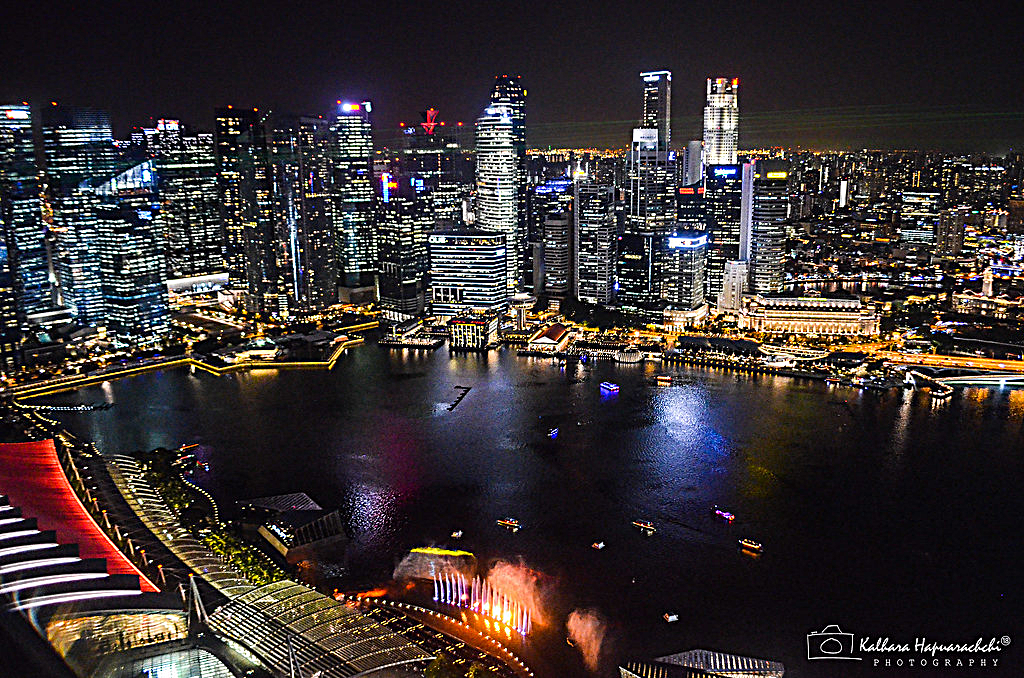
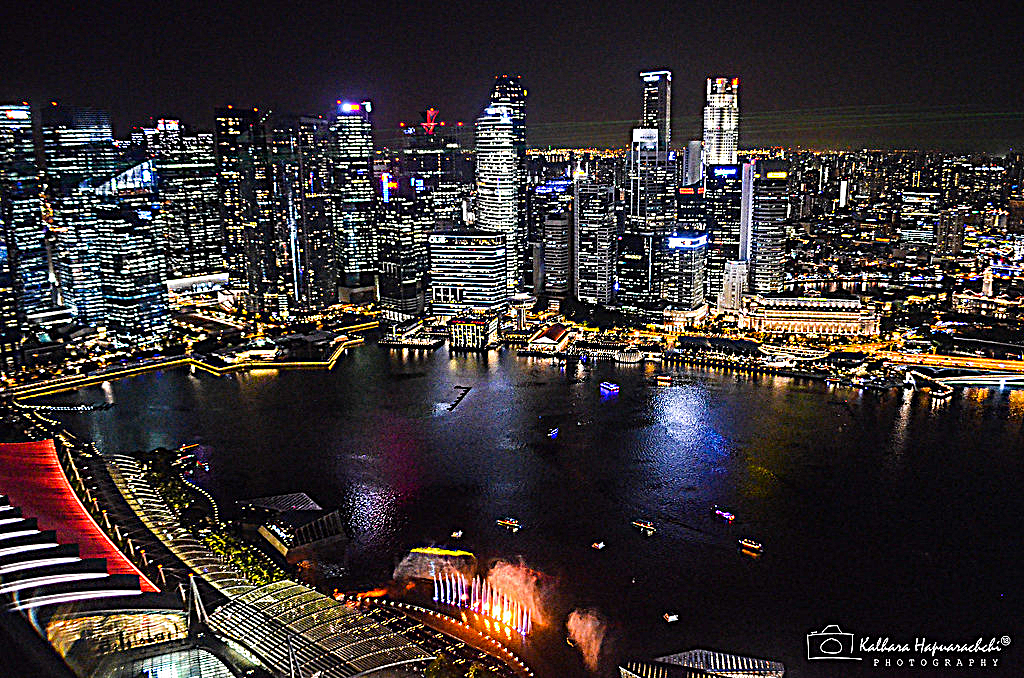
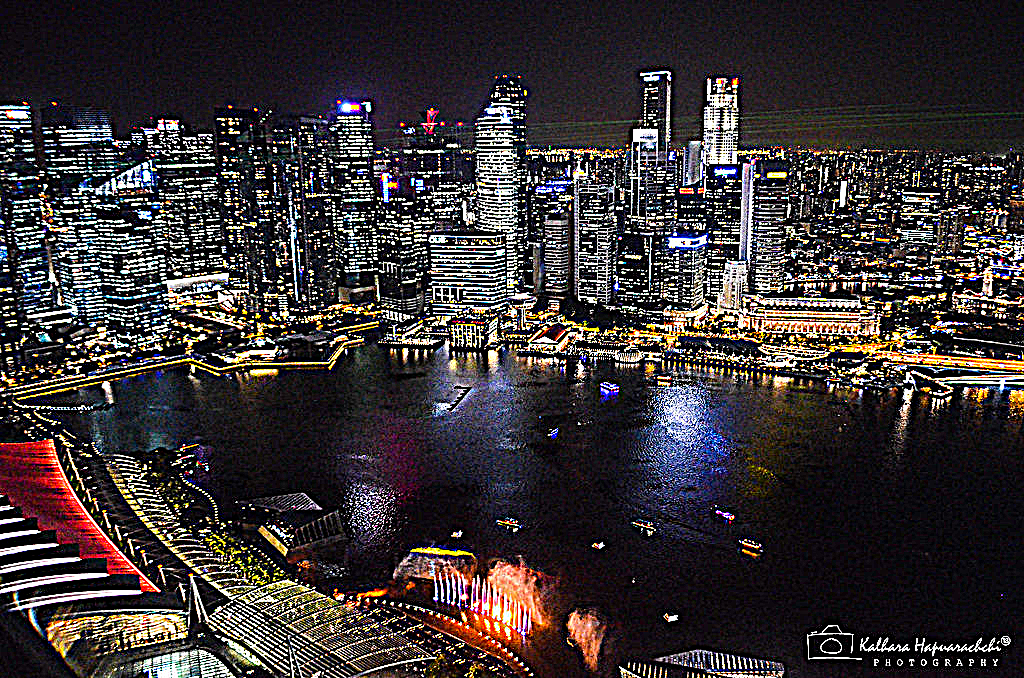
By adjusting the parameter α, we can control how much sharpening is applied. The results for α = 0 (no sharpening), α = 1, α = 2, and α = 5 are shown below.
Sharpening Results for Different Scenes:
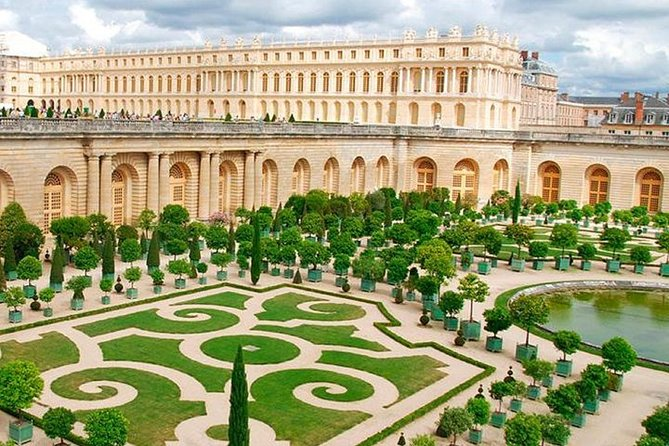
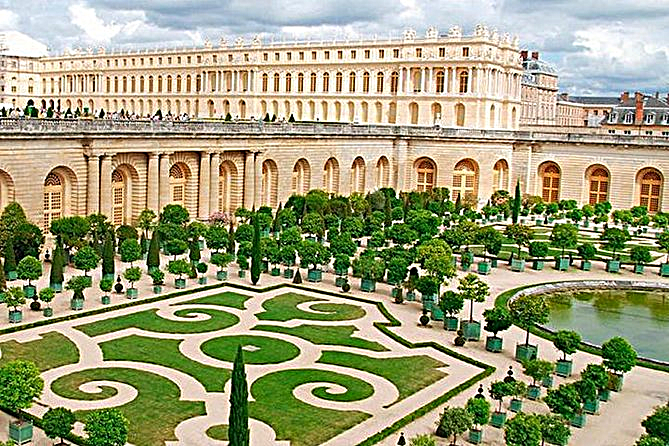
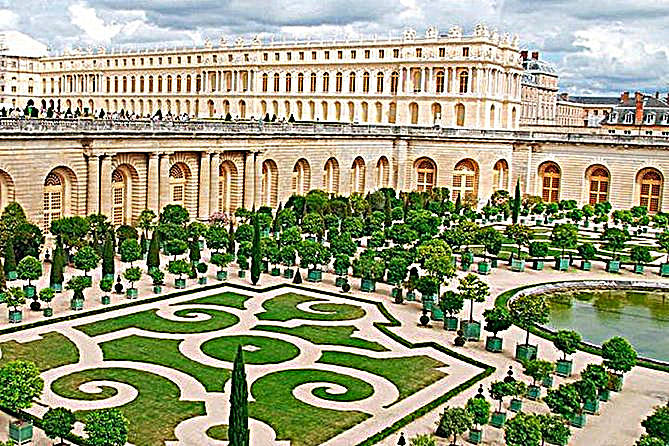
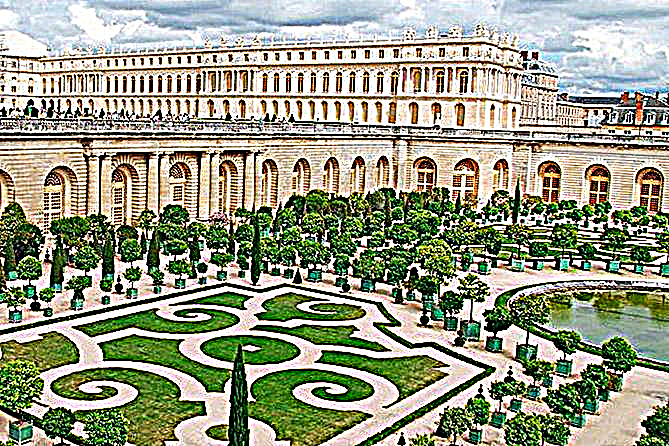
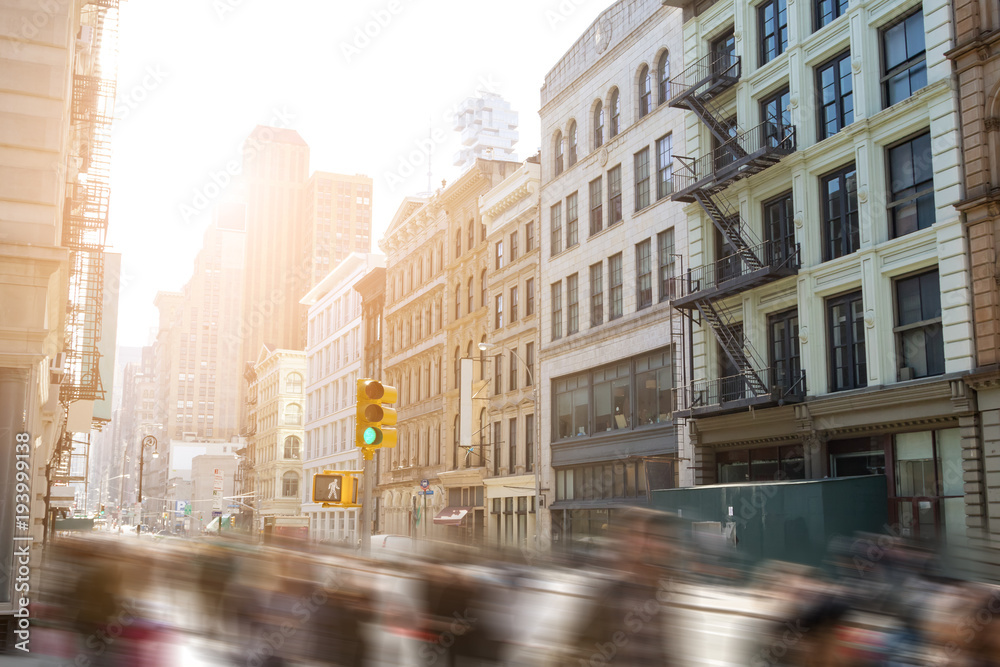
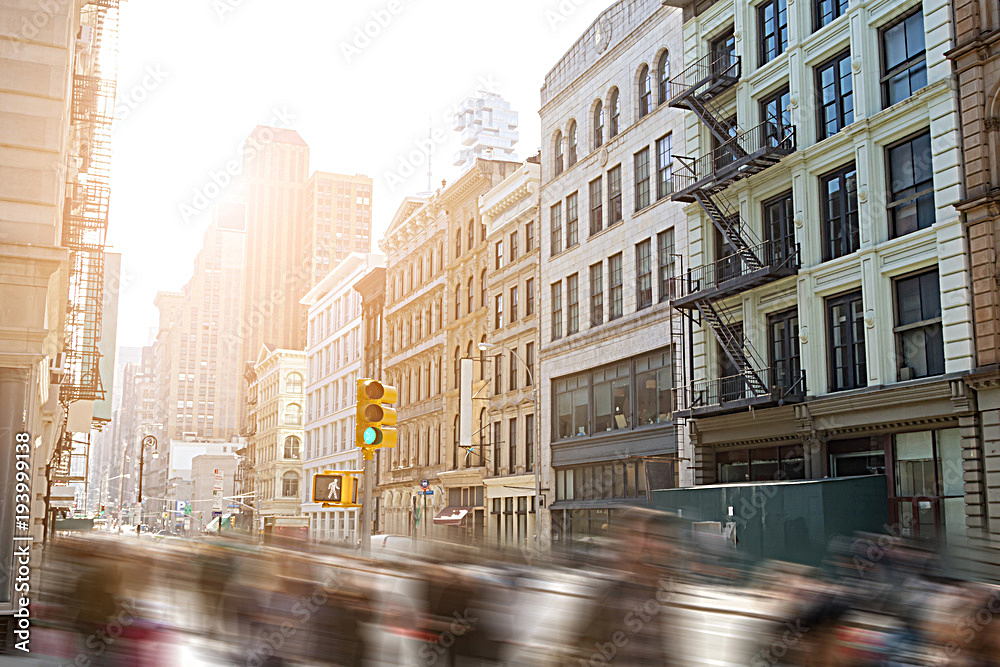
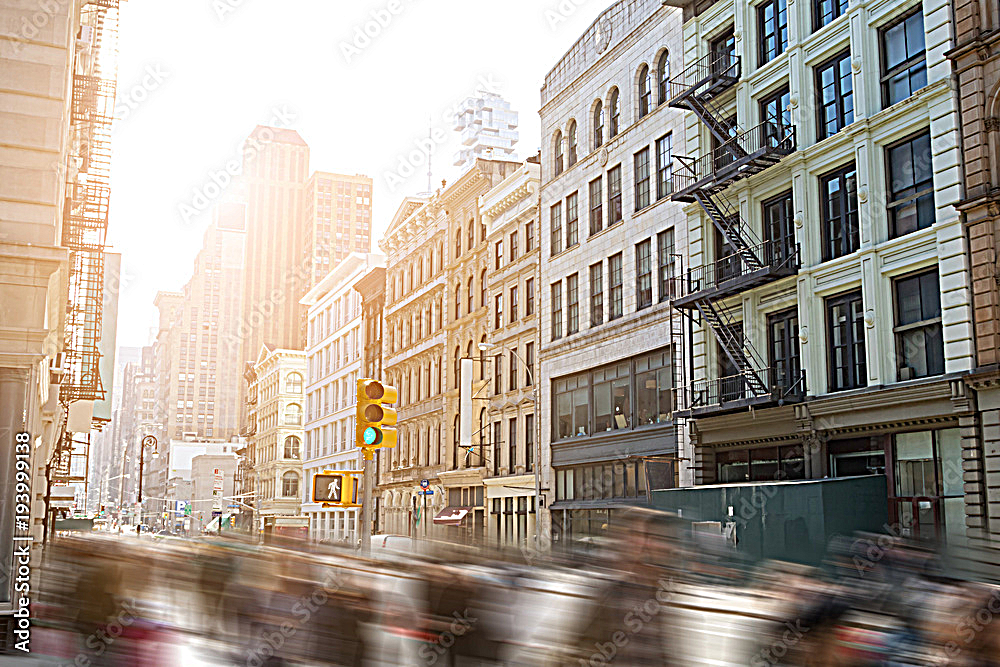
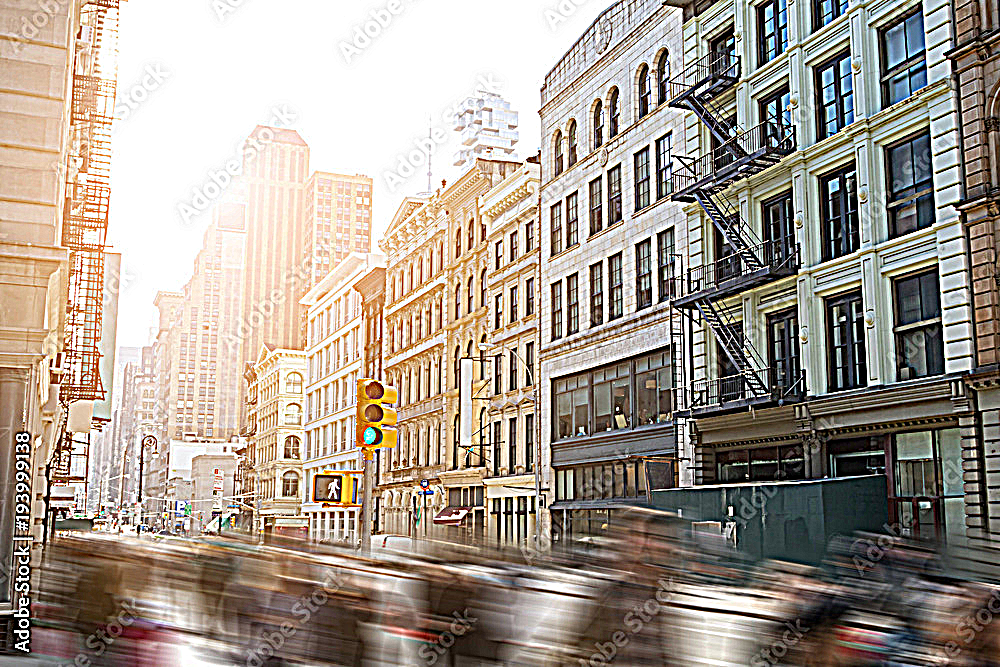
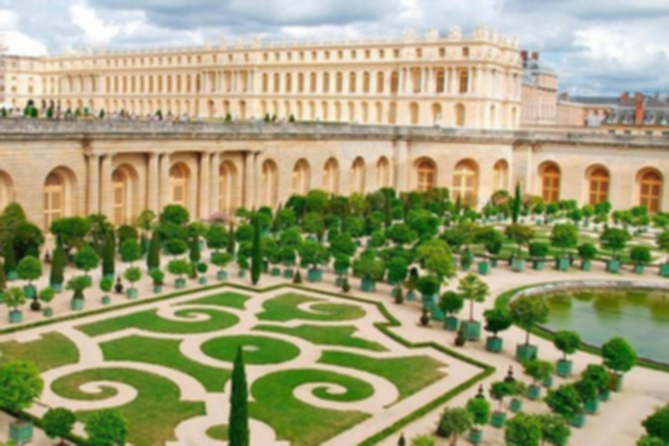
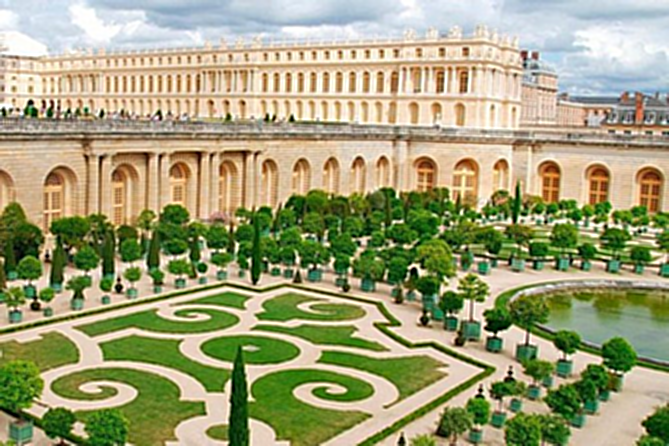
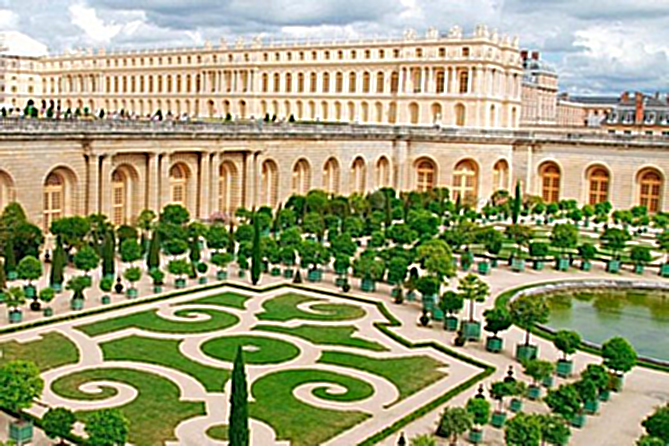
Below are additional sharpening results for three different scenes: Singapore vibrant, Paris Versailles, and a fast-paced image. Each row shows the results with α = 0, α = 1, α = 2, and α = 5 for the same scene.
Blurring and Sharpening Paris Versailles Image
The following results demonstrate first applying a Gaussian blur to the Paris Versailles image and then sharpening it. This technique enhances edges and details that were softened by the blur. The images below show the results for different values of α: 0, 3, and 5.
Part 2.2: Hybrid Images
In this section, I created hybrid images by combining different frequency components of two images:
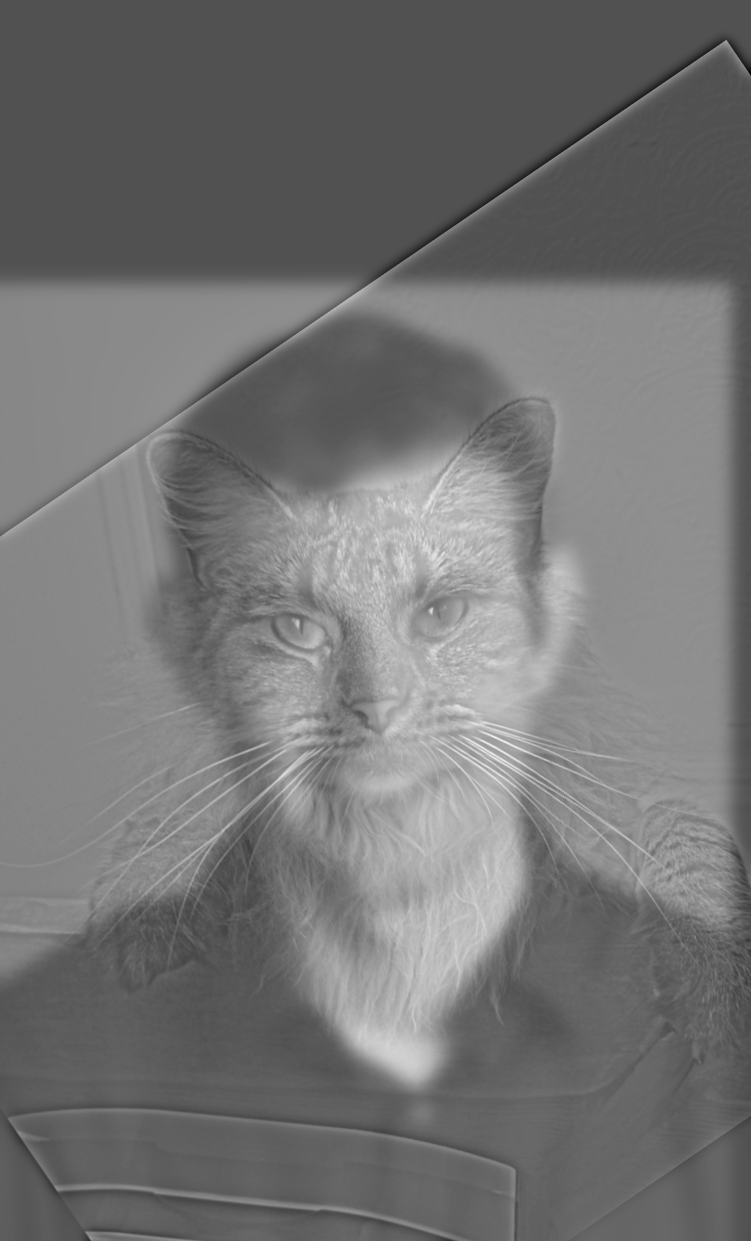
Derek Hoiem and Nutmeg
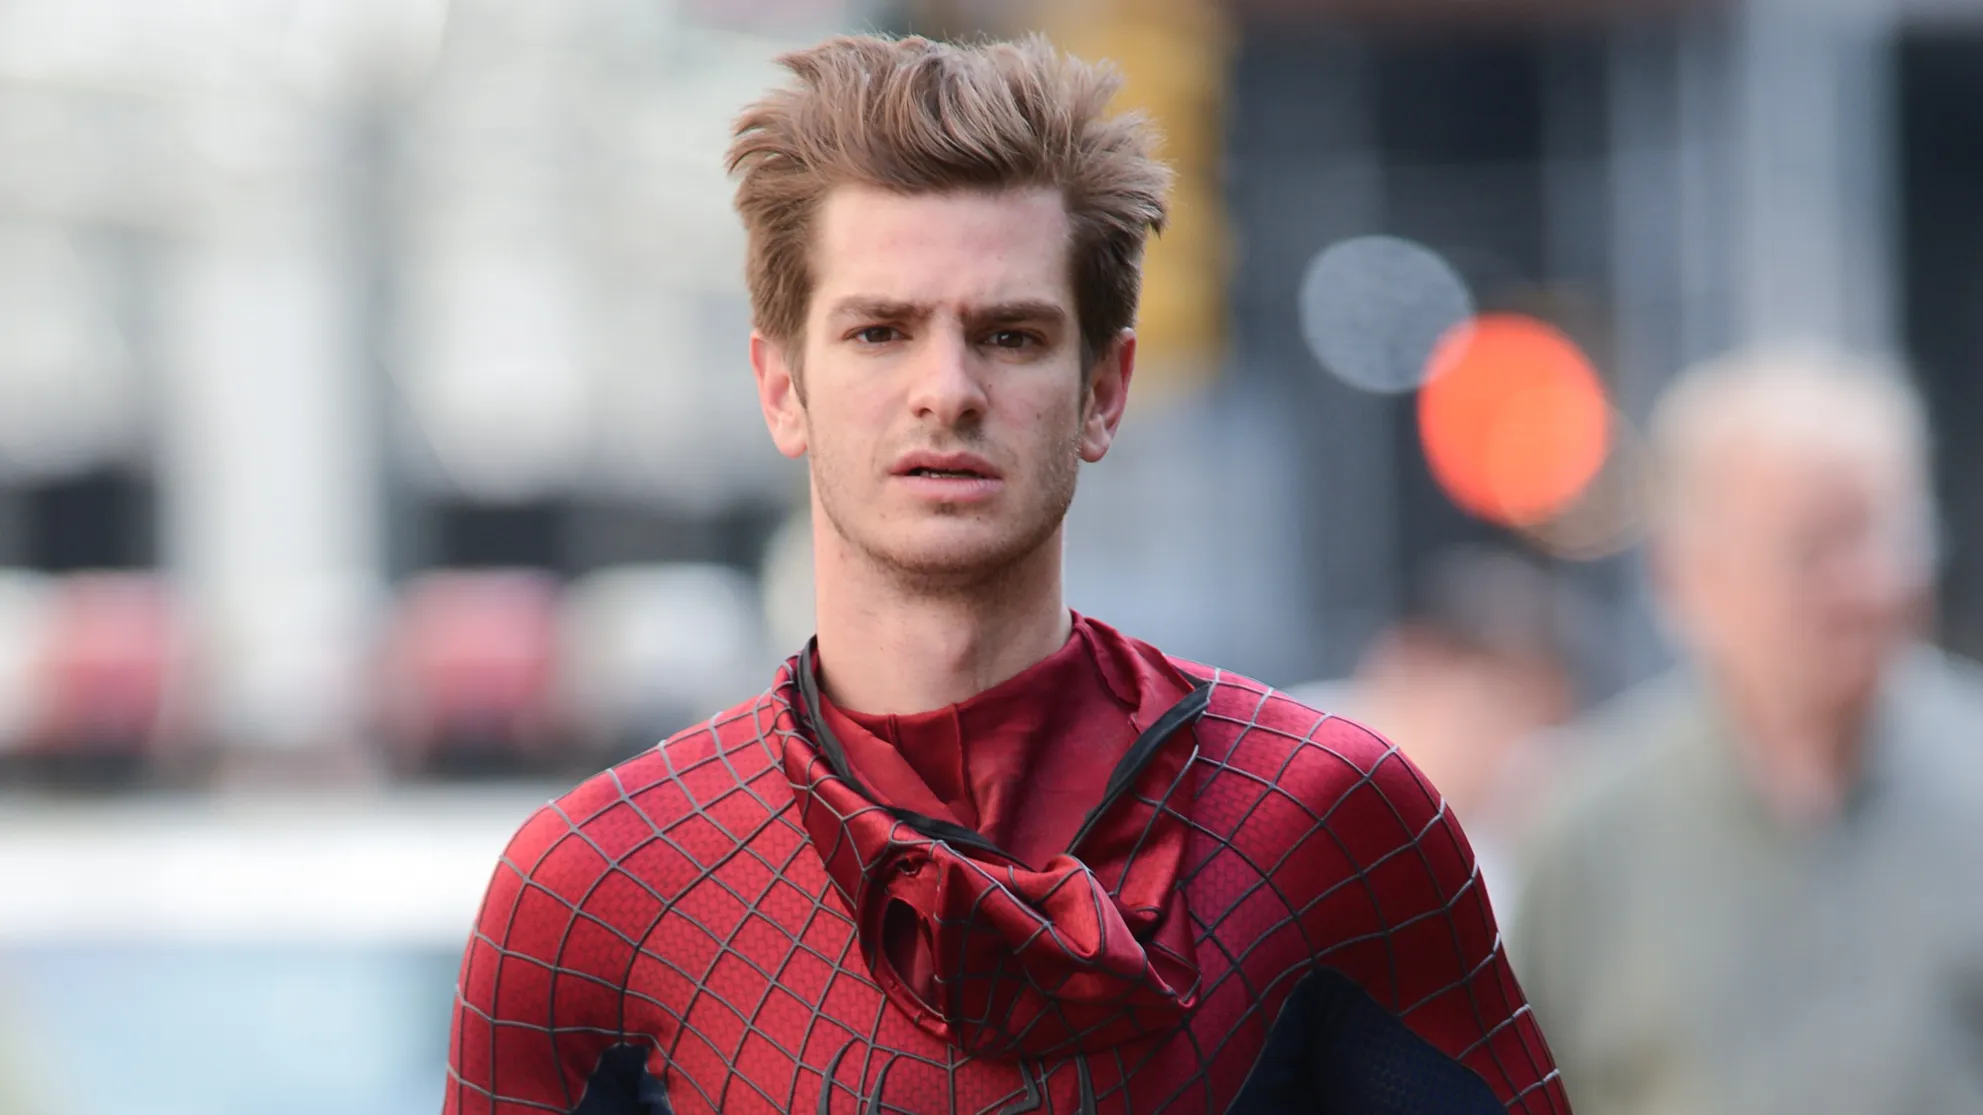
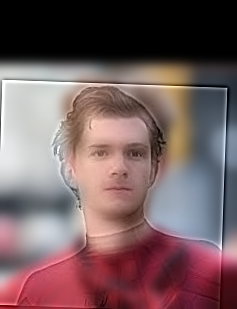
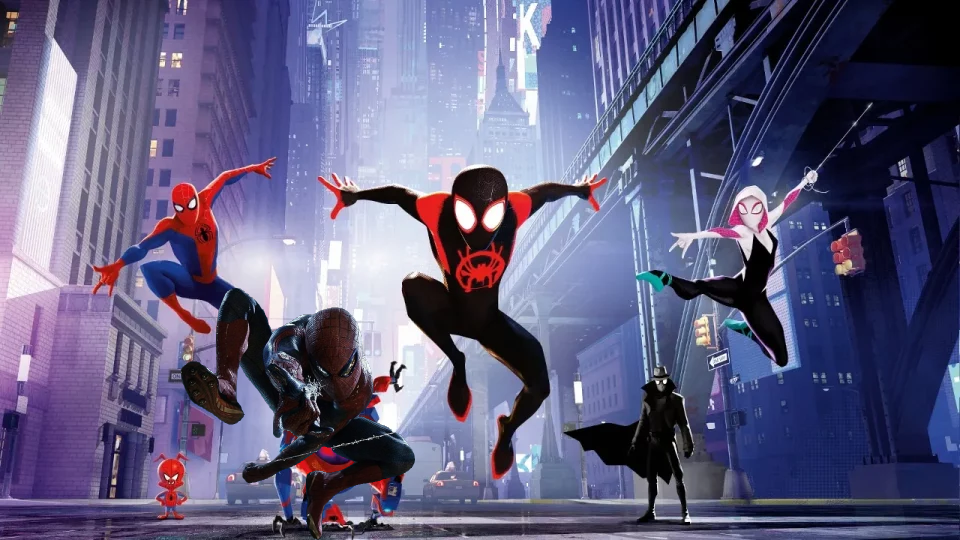
Spidermen: Tom Holland and Andrew Garfield
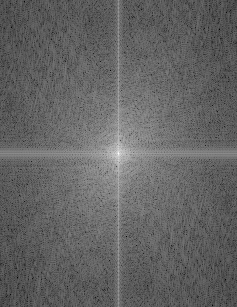
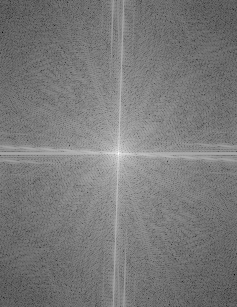
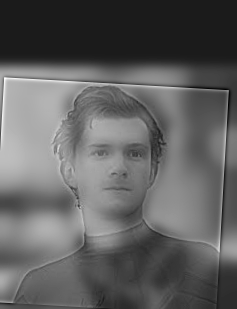
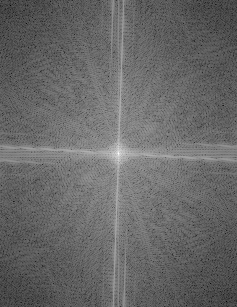
Below are images of Tom Holland and Andrew Garfield, along with their Fourier transforms and the resulting hybrid images. I particularly enjoyed creating this hybrid, as it turned out to be a favorite among my roommates, who thought it looked really cool. Tom Holland is passed through a high frequency pass filter while Andrew Garfield's rendition of spiderman is passed through a low pass filter instead.
Additionally, here is the Fourier transform of combining both Spidermen together, represented by the following hybrid image:
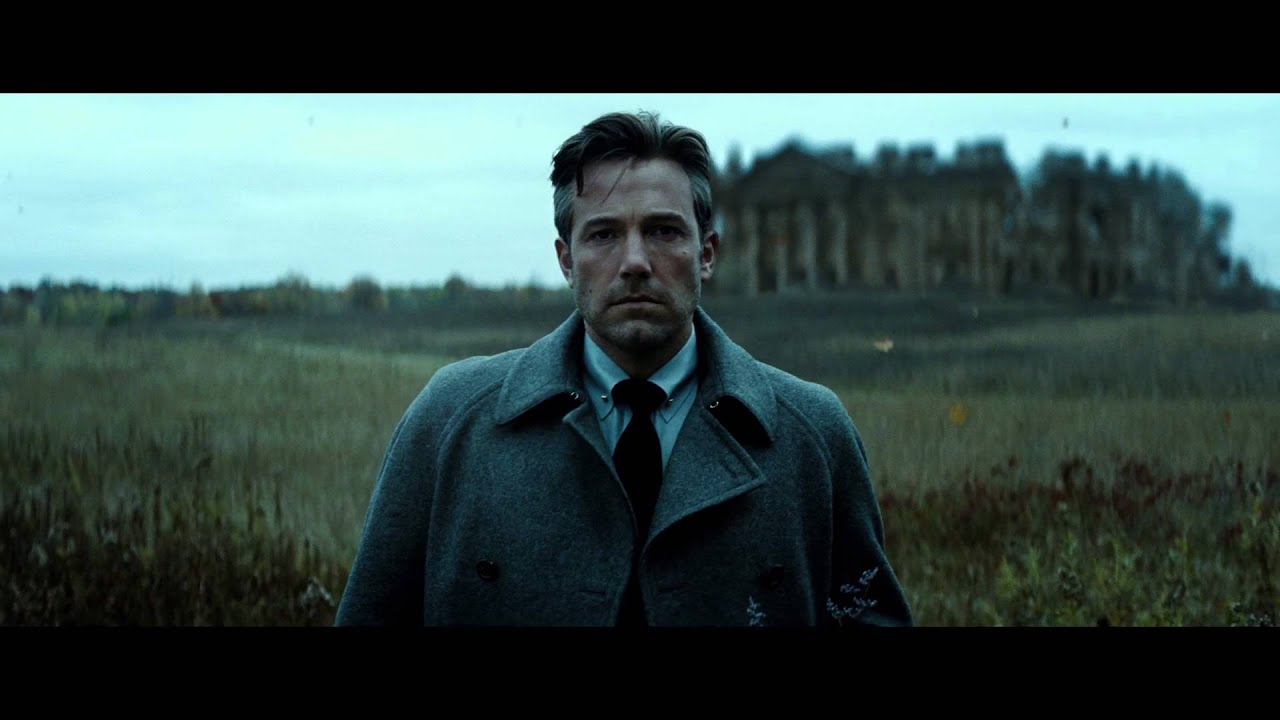
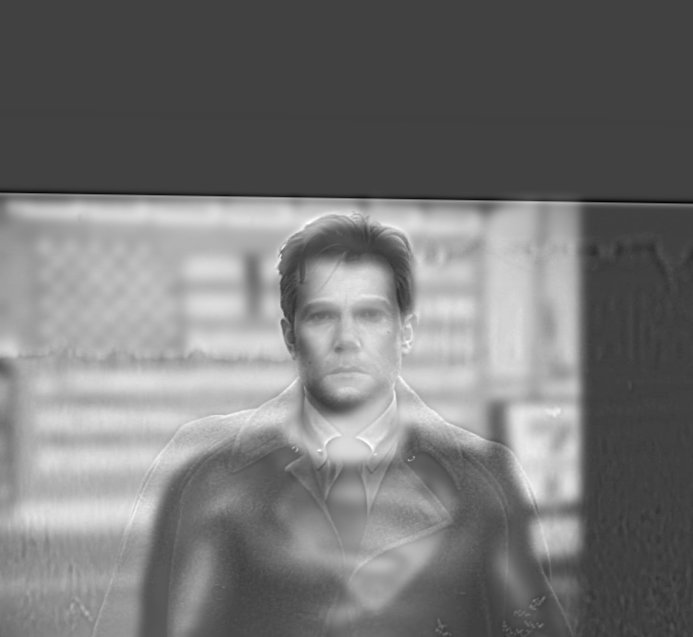
Superman and Bruce Wayne
Finally, below are the hybrid failed example results from combining Superman and Bruce Wayne since I am a big DC fan as well (so here is some variety):
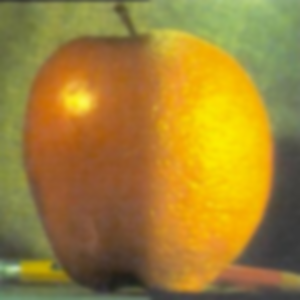
Part 2.3: Multiresolution Blending - Oranges and Apples
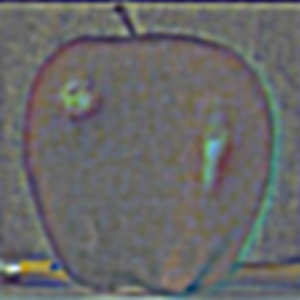
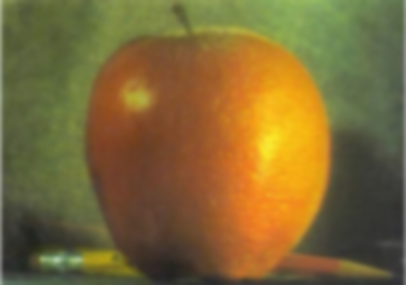
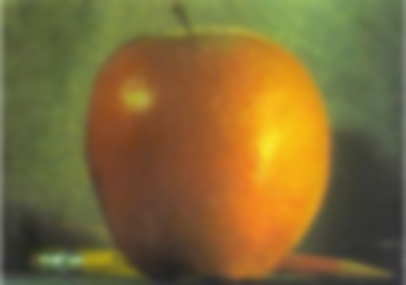
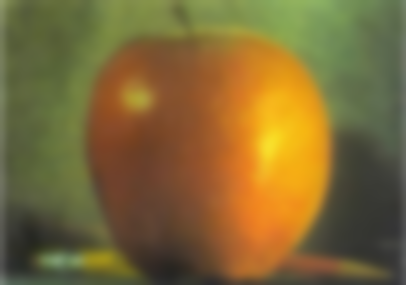
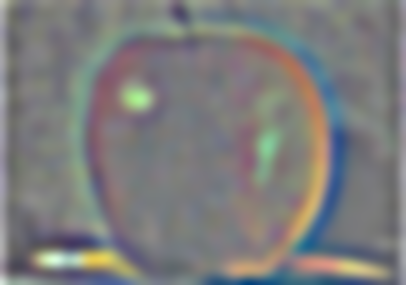
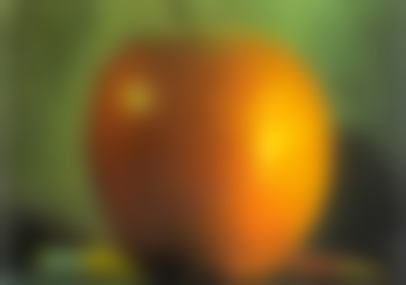
Below are images demonstrating Gaussian and normalized Laplacian stacks applied to both oranges and apples very cool blends were created here!:
Gaussian Stack Levels - Oranges
Normalized Laplacian Stack Levels - Oranges
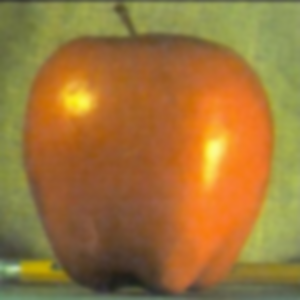
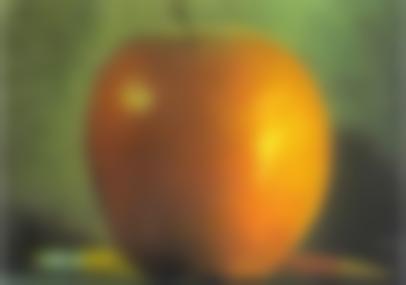
Gaussian Stack Levels - Apples
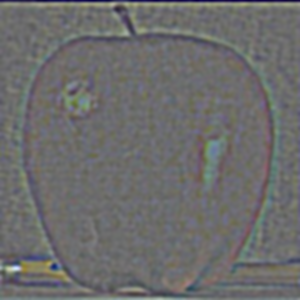
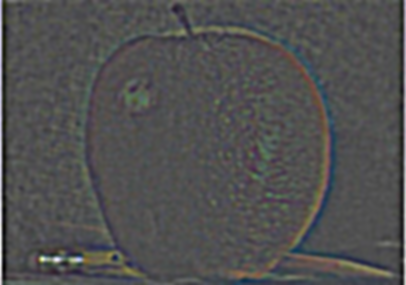
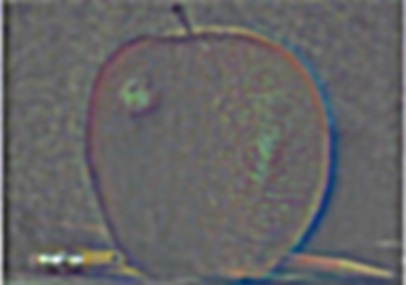
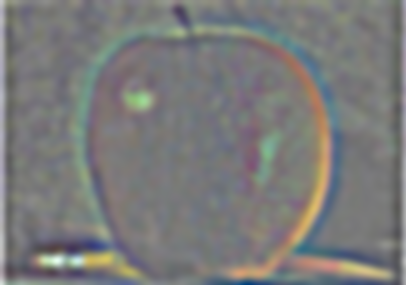
Normalized Laplacian Stack Levels - Apples
Final Blended Image
Part 2.4: Multiresolution Blending - Image Spline
Finally, the multiresolution blending was applied to different sets of images. Below are the original images alongside their blended results along with different horizontal, vertical, and gradient-based masks. I also tried a segmentation model, but results were less successful:
In addition to completing the required tasks, I also took on the Bells and Whistles extra credit by implementing color-based Gaussian/Laplacian stacks and hybrid images as described in the project. I found it really enjoyable to learn these techniques, which I typically associate with video and photo editing!
